How It Works
How it works?
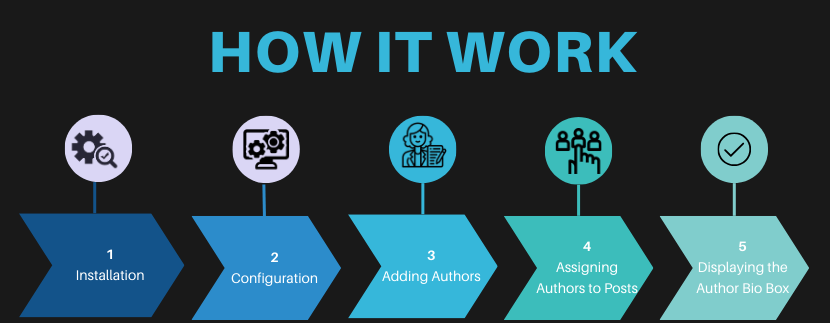
WP Author Box is a WordPress plugin designed to help you easily add author bio boxes to your website. Here's a step-by-step guide on how it works:

1
Installation
To get started, simply install the WP Author Box plugin on your WordPress website. You can do this by going to the WordPress dashboard, clicking on “Plugins” in the left-hand menu, and then clicking “Add New”. Click “Upload Plugin”, click “Choose file”, Open Multi Author .zip file then activate the plugin to Click “Install Now”
2
Configuration
Once installed, go to the WP Author Box settings page, located under “Settings” in the left-hand menu. Here, you can customize the appearance and behavior of the author bio box to suit your website’s design and needs.
3
Adding Authors
To add an author, go to the “Authors” page in the left-hand menu. Click “Add New Author” and enter the author’s details, including their name, bio, and social media profiles.
4
Assigning Authors to Posts
Once you’ve added an author, you can assign them to specific posts by editing the post and selecting the author from the “Author” dropdown menu.
5
Displaying the Author Bio Box
The author bio box will automatically appear at the end of each post, displaying the author’s name, bio, and social media profiles.
Still have a question? Browse Documentation or Submit a Ticket.
Paid Plan Features
- Drag & Drop Content Reordering
- Off-Canvas Layout Control
- Author Card Settings
- Post-Level Control
- Flexible Element Display
- Author Card Positioning
- Guest Author Support
Click the "Upgrade to Paid Plan" button to unlock these additional features and take your author bio boxes to the next level.